
- Online Learning Support
- Application Support
- Audio/Visual Device Support
- Computer Support
- Telephone\Voicemail support
- Wireless Support
- User Account Support
Remote Desktop Resources - MAC Instructions
Set-up FortiClient SSL-VPN Connection
Install FortiClient
Download the FortiClient VPN for MacOS installer:
- COM IT Department: Fortinet Client for MacOS
- Fortinet site: http://fortinet.com/support/product-downloads#vpn
- Double click the downloaded file to install the Forticlient. It may take a few seconds but the Forticlient download will then start.

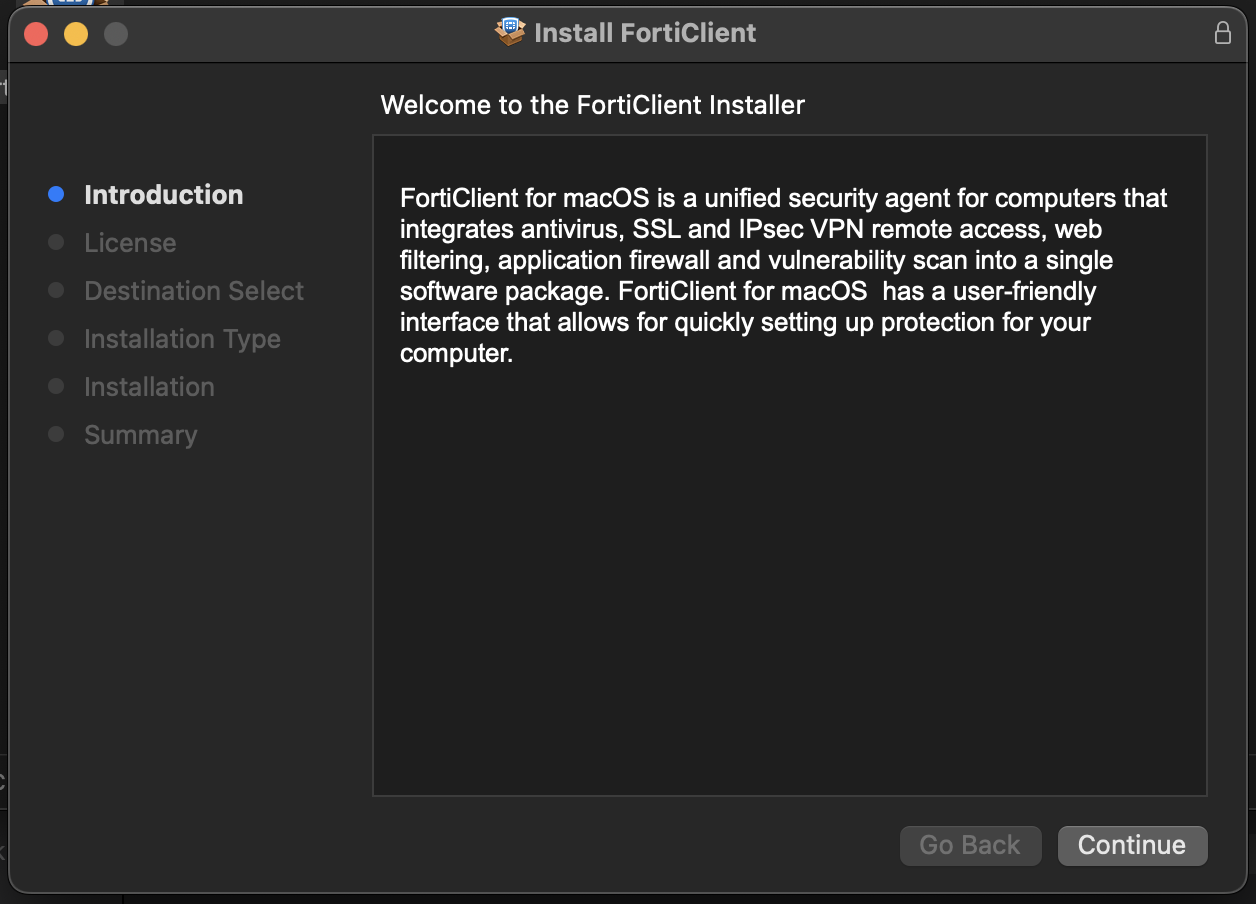
- The installation program will start - follow the instructions complete installation:
- Once installation completes you will be asked to update permissions to allow the FortiTray app to be registered.
- Open System Settings and allow Fortitray
2. Add the Primary VPN Profile (COM-VPN1)
- Click the FortiClient icon from the Launch Pad
- Click Configure VPN
For the New VPN Connection, Enter:
- Connection Name: COM-VPN1
- Remote Gateway: vpn1.marin.edu:443/eiscwwaczdwlhpk
- Check - ☑ Enable Single Sign On (SSO) for VPN Tunnel
- Check - ☑ Use external browser as user-agent for SAML user authentication
- Connection Name: COM-VPN1
- Remote Gateway: vpn1.marin.edu:443/eiscwwaczdwlhpk
- Check - ☑ Enable Single Sign On (SSO) for VPN Tunnel
- Check - ☑ Use external browser as user-agent for SAML user authentication
- Click Save.
- Click Save.
3. Add the Alternate VPN Profile (COM-VPN2) by clicking the three lines next to the VPN Name and selecting "Add Connection"
- Enter exactly the same settings, except:
- Connection Name: COM-VPN2
- Remote Gateway: vpn2.marin.edu:443/eiscwwaczdwlhpk
- Repeat the same port and SSO settings as for COM-VPN1.
- Click Save.
4. Connecting
- On the main Remote Access screen you’ll now see both COM-VPN1 and COM-VPN2.
- Select COM-VPN1 and click Connect.
- If COM-VPN1 fails, switch to COM-VPN2 and click Connect.
- Authenticate via the browser SSO pop-up using your myCOM credentials
After Successful authentication you will see a connecting message in the browser window:
You can check the connection status in the Forticlient app by selecting the Forticlient Shield on your Mac Menu bar:
When connected your status will show similar to this:
Connecting to RDP Session
Go to the App Store and download the Windows App
Download RDP link from COM IT here: RDP-1.rdp
Open a Finder window and locate the RDP-1 file.
Open the Windows App
Drag the RDP-1 file from Finder into the Windows App
Hover over the REMOTE_DESKTOP 1 PC in the Windows app. Click the 3 dots and select "Edit".
Click on Credentials and Choose Add Credentials.Enter your COM Credentials using your COM Email address for the username (e.g. [email protected]).
Click Add and then Save.
Double click the RDP-1 in the Windows App and you will be get signed into your desktop.
If you receive any certificate warnings, just click "Continue"
When done, right click on the Windows icon in your RDP session, right click on your name and select "Sign Out"
DataImage10.png
DataImage13.png
DataImage16.png
DataImage16.png
DataImage19.png
DataImage36.png
DataImage37.png
DataImage40.png
DataImage41.png
DataImage51.png
DataImage52.png
DataImage52.png
DataImage54.png
DataImage66.png
DataImage70.png
DataImage78.png
DataImage85.png
DataImage89.png
DataImage9.png
| Files | ||
|---|---|---|
|
DataImage10.png 342.9 KB |
||
|
DataImage13.png 373 KB |
||
|
DataImage16.png 460.8 KB |
||
|
DataImage16.png 242.1 KB |
||
|
DataImage19.png 79.9 KB |
||
|
DataImage36.png 290.8 KB |
||
|
DataImage37.png 63.3 KB |
||
|
DataImage40.png 232.2 KB |
||
|
DataImage41.png 146.8 KB |
||
|
DataImage51.png 227.7 KB |
||
|
DataImage52.png 164.8 KB |
||
|
DataImage52.png 205.4 KB |
||
|
DataImage54.png 323.5 KB |
||
|
DataImage66.png 158 KB |
||
|
DataImage70.png 303.9 KB |
||
|
DataImage78.png 205 KB |
||
|
DataImage85.png 1.7 MB |
||
|
DataImage89.png 364.2 KB |
||
|
DataImage9.png 130.5 KB |
 Get help for this page
 Jitbit HelpDesk